NETSCALER GATEWAY AND MICROSOFT AZURE MULTI-FACTOR AUTHENTICATION - PART 2: TECH BRIEF
NetScaler Gateway presents all hosted, SaaS, web, enterprise, and mobile applications to users on any device and any browser. It uses nFactor Authentication to authenticate users against on-premises Microsoft AD and leverages Microsoft AD FS for Azure Multi-Factor Authentication (MFA).
Courtesy Cloud Software Group/NetScaler
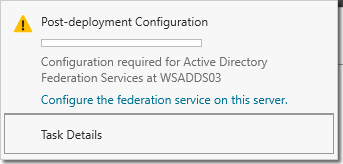
Now you can begin your AD FS post-deployment configuration from Server Manager. Click Configure the federation service on this server.
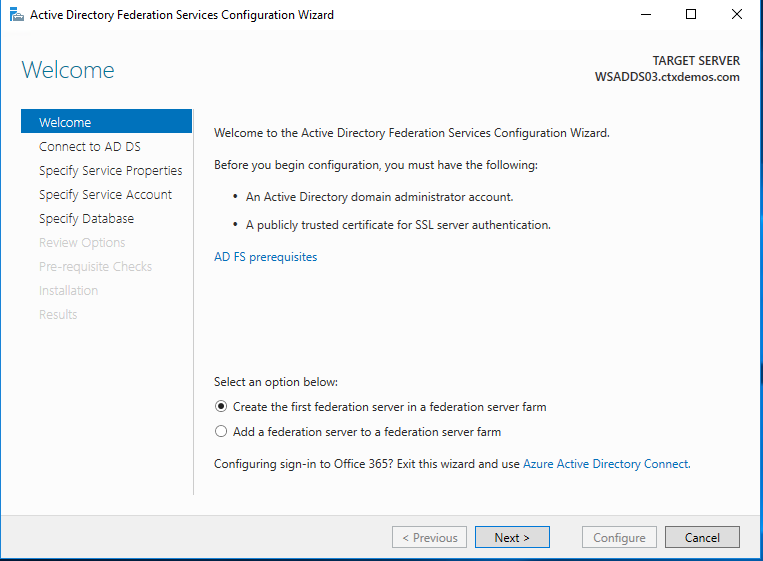
On the Welcome page, select Create the first federation server in a federation server farm, and then click Next.
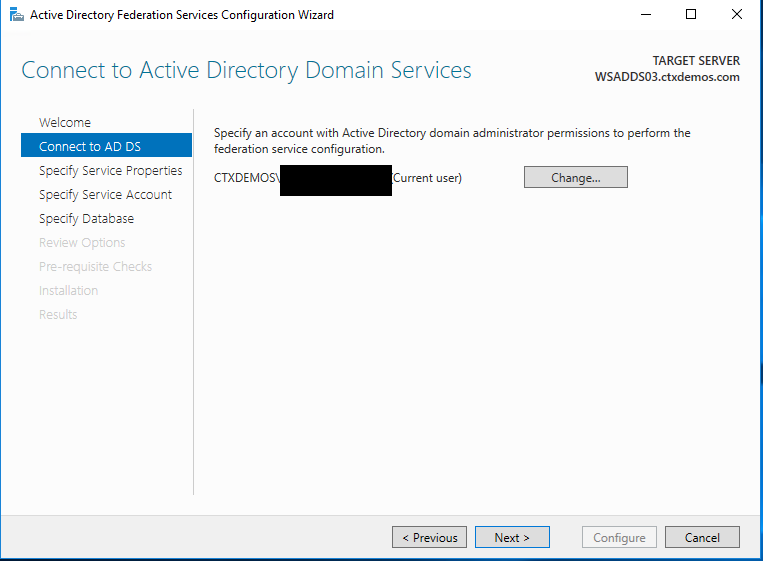
On the Connect to Active Directory Domain Services page, ensure the Domain Administrator account is specified, and then click Next.
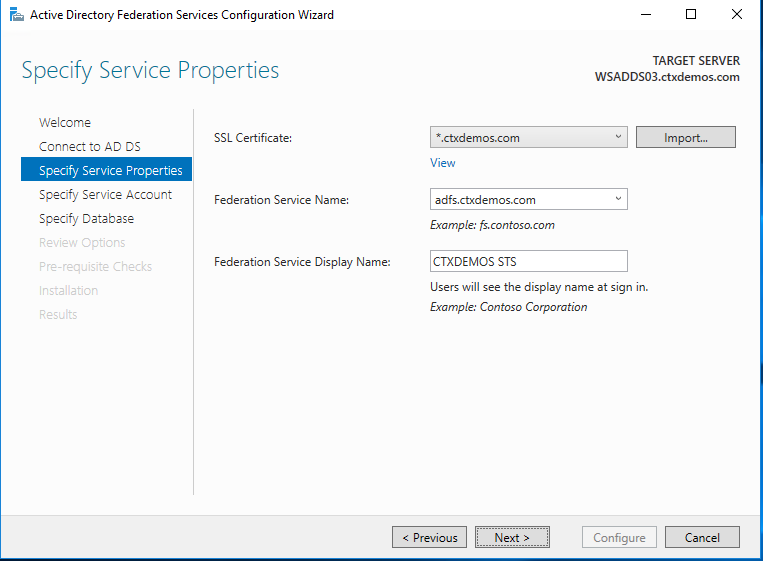
On the Specify Service Properties page, complete the following steps, and then click Next:
- Choose the certificate which was installed on the server in the previous steps.
- The federation service name will automatically be populated based on the subject name of the certificate.
- Put the display name for the federation service. For example, CTXDEMOS STS.
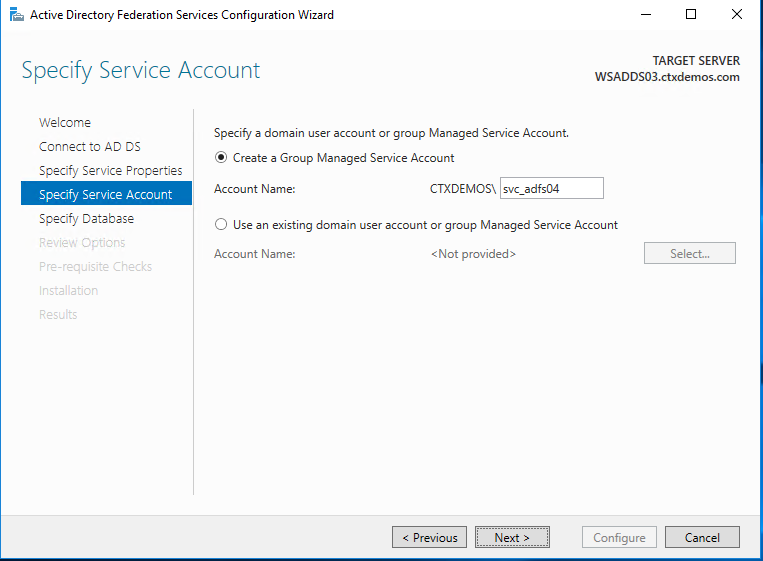
On the Specify Service Account page, select Create a Group Managed Service Account, and enter a unique name for this account. Group Managed Service Accounts are supported in Windows Server 2012 onwards and come with strict, complex passwords which are changed automatically every 30 days. Click Next.
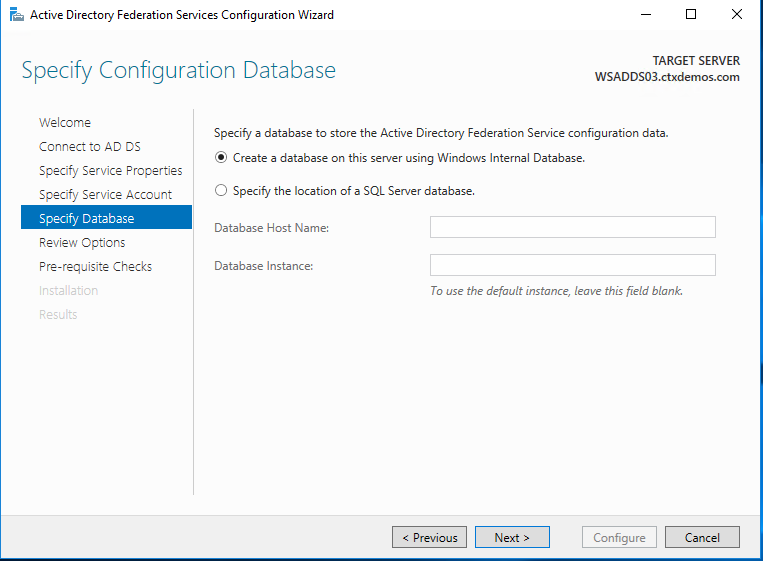
On the Specify Configuration Database page, select specify the location of a SQL Server database. Click Next.
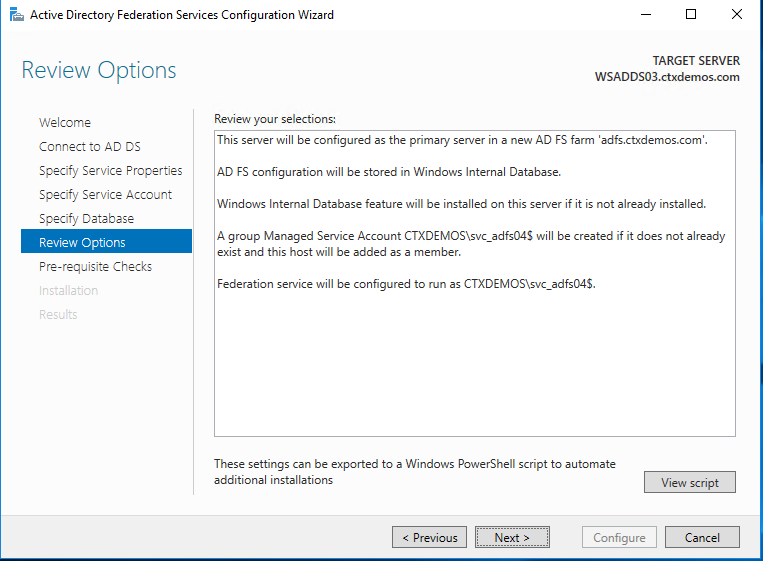
On the Review Options page, verify your configuration selections, and then click Next.
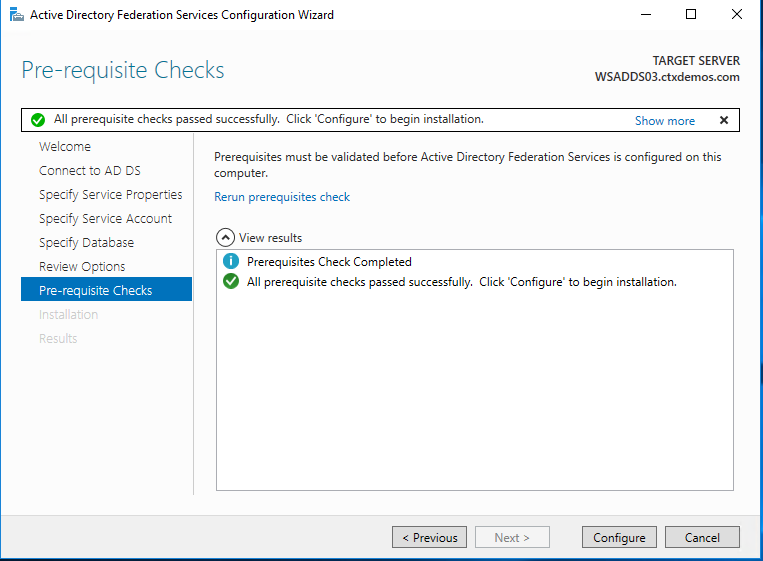
On the Pre-requisite Checks page, verify that all prerequisite checks are successfully completed, and then click Configure.
On the Results page, ensure that the installation is successful. Click Close to exit the wizard.

To complete the following steps, you will need your Azure Tenant ID.
You can get the Azure Tenant ID by following the steps in the Microsoft documentation article, Get AzureID Tenant Detail.
Microsoft documentation also provides information about the Azure MFA Client GUID in Configure AD FS 2016 and Azure MFA.
Configure AD FS farm - automated
You can run the following PowerShell script:
# # Windows PowerShell script for AD FS Deployment #
Import-Module ADFS Install-AdfsFarm ` -CertificateThumbprint:"BD02F30D90A96EEE4A5934F2EA979E7A052584AE" ` -FederationServiceDisplayName:"CTXDEMOS STS" ` -FederationServiceName:"adfs.ctxdemos.com" ` -GroupServiceAccountIdentifier:"C
Configure AD FS with Azure MFA
Configure AD FS servers
On each of your AD FS servers, launch PowerShell and run the following commands:
# Install Windows PowerShell MSOnline Module Install-Module MSOnline
# Import Windows PowerShell MSOnline Module Import-Module MSOnline
# Get the Azure Global Administrator credential $credential = Get-Credential
# Sign in to your Azure Active Directory environment Connect-MsolService -Credential $credential
# Set a variable for the Azure Tenant name $azureTenantID = "ctxdemos.onmicrosoft.com"
# Set a variable for the Azure MFA Client GUID $azureMFAClientGUID = "981f26a1-7f43-403b-a875-f8b09b8cd720"
# Generate a certificate for the Azure MFA on AD FS server $azureMFACertificate = New-AdfsAzureMfaTenantCertificate -TenantId $azureTenantID
# Add the new credentials to the Azure MFA Client Service Principal New-MsolServicePrincipalCredential -AppPrincipalId $azureMFAClientGUID -Type asymmetric -Usage verify - Value $azureMFACertificate
Configure AD FS farm
Only on one of the AD FS servers, run the following command:
Set-AdfsAzureMfaTenant -TenantId $azureTenantID -ClientId $azureMFAClientGUID
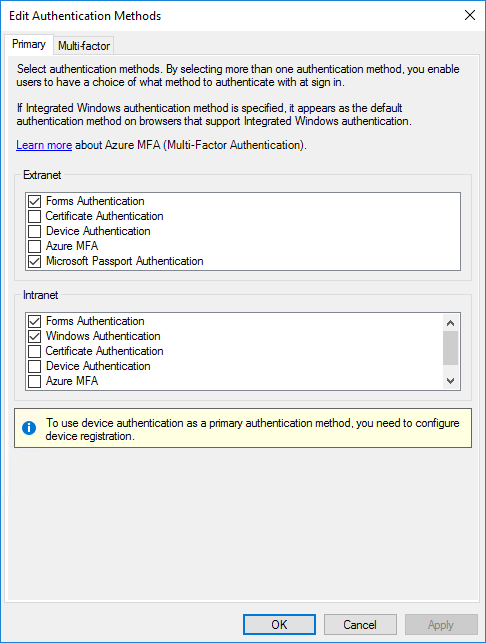
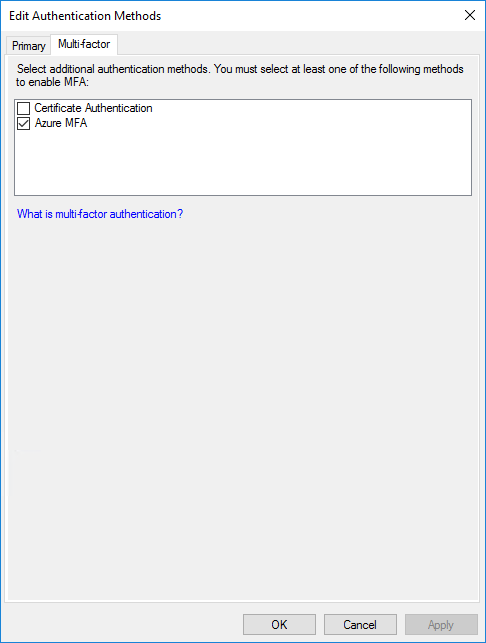
Restart the AD FS service on each of your servers. Then you will see that Azure MFA is available as the primary and multifactor authentication method for the intranet and extranet use.
Configure AD FS with NetScaler ADC
You need to create a federation trust between AD FS and NetScaler ADC.
Configure AD FS with NetScaler ADC
You need to create a federation trust between AD FS and NetScaler ADC.
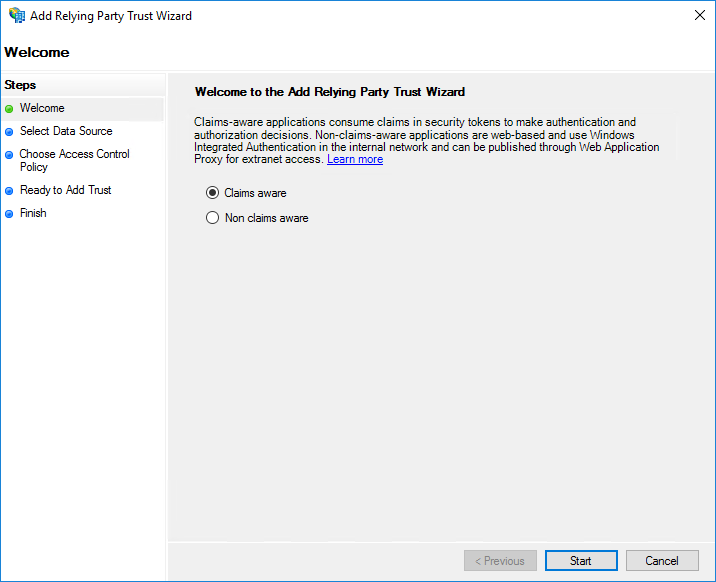
In the AD FS Management Console, navigate to Relying Party Trust and select Add Relying Party Trust.
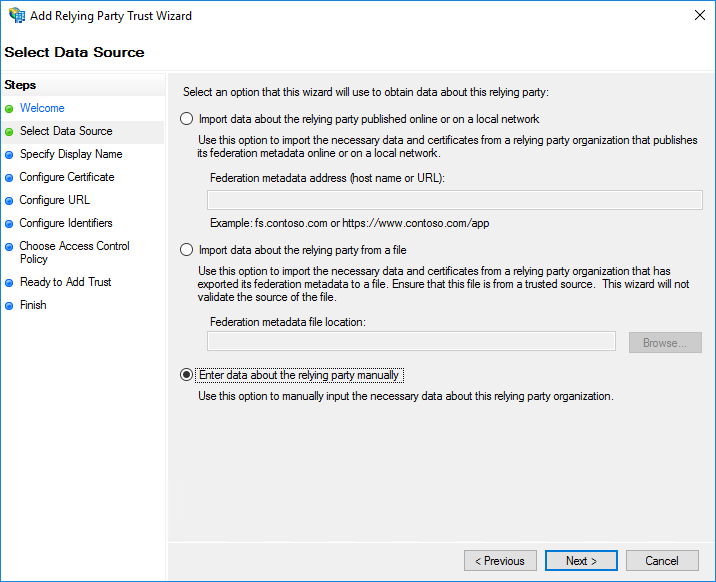
Select Enter data about the relying party manually and click Next.
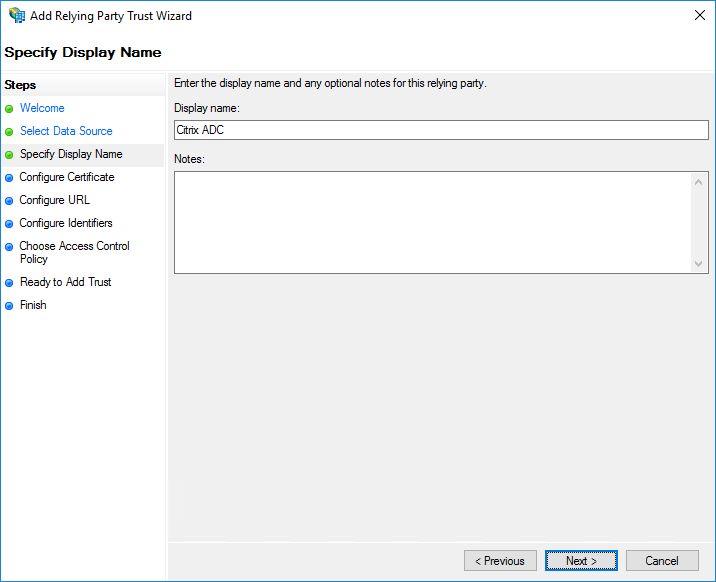
Enter a descriptive display name and optional notes. Click Next.
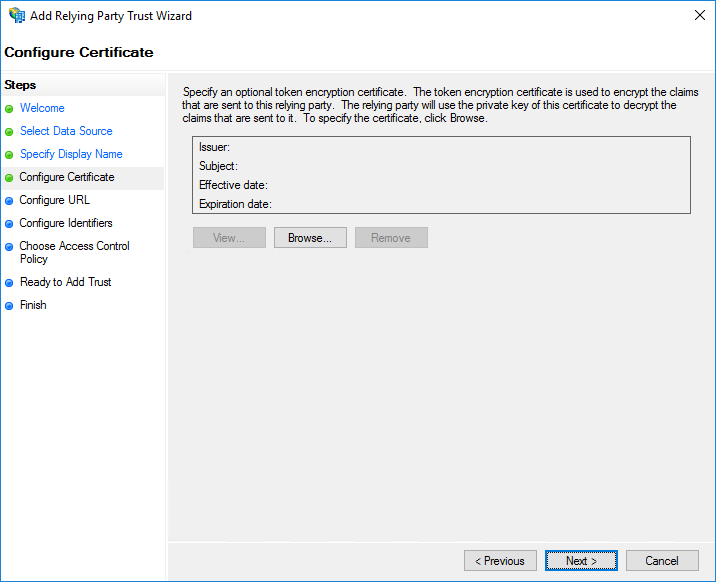
Click Next.
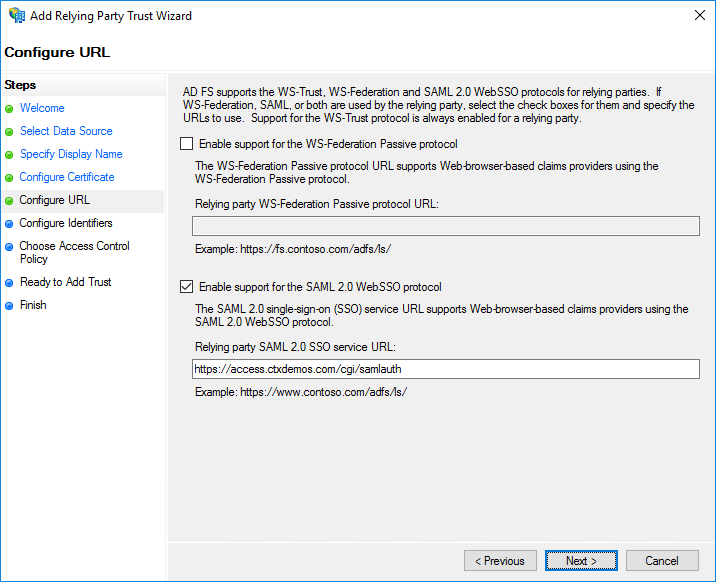
Select Enable support for the SAML 2.0 WebSSO protocol and enter https://NetScalerGatewayFQDN/cgi/samlauth. In the demo environment, it is https://access.ctxdemos.com/cgi/samlauth. Click Next.
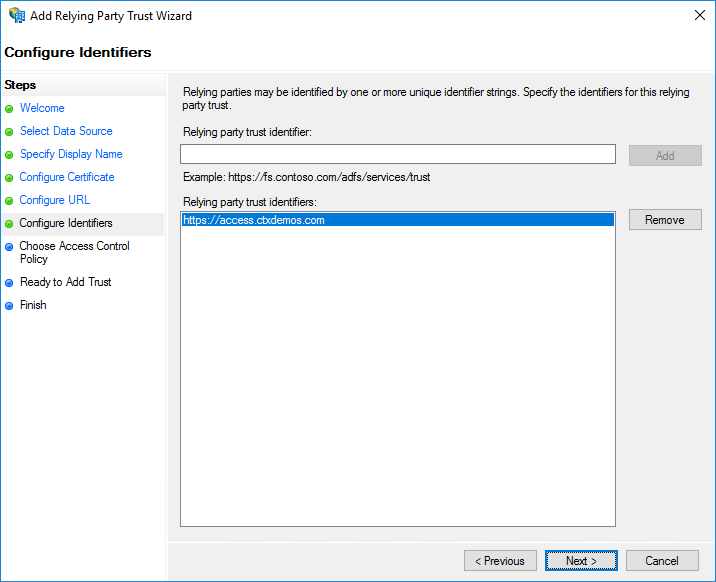
Enter a unique identifier string for the Relying Party Trust. In the demo environment, it is https://access.ctxdemos.com. This identifier will be used as an Issuer URL in the NetScaler ADC SAML profile. Click Next.

Enter a unique identifier string for the Relying Party Trust. In the demo environment, it is https://access.ctxdemos.com. This identifier will be used as an Issuer URL in the NetScaler ADC SAML profile. Click Next.
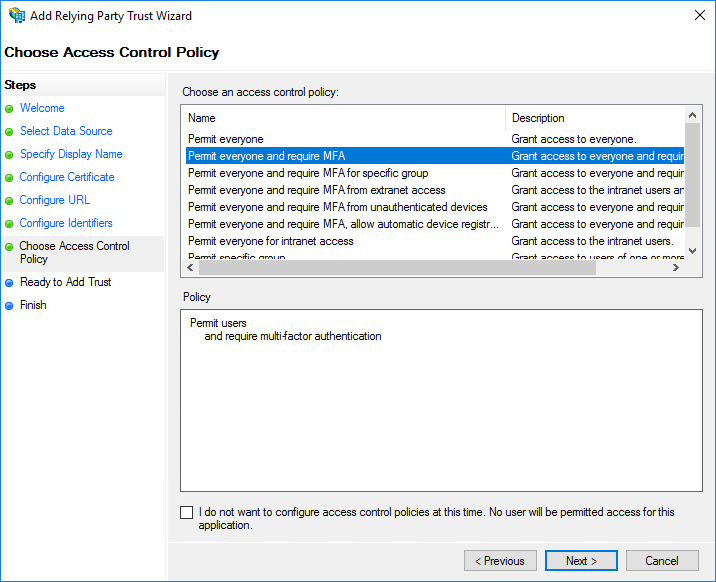
On the Choose Access Control Policy page, select Permit everyone and require MFA. Click Next.
Click Next.
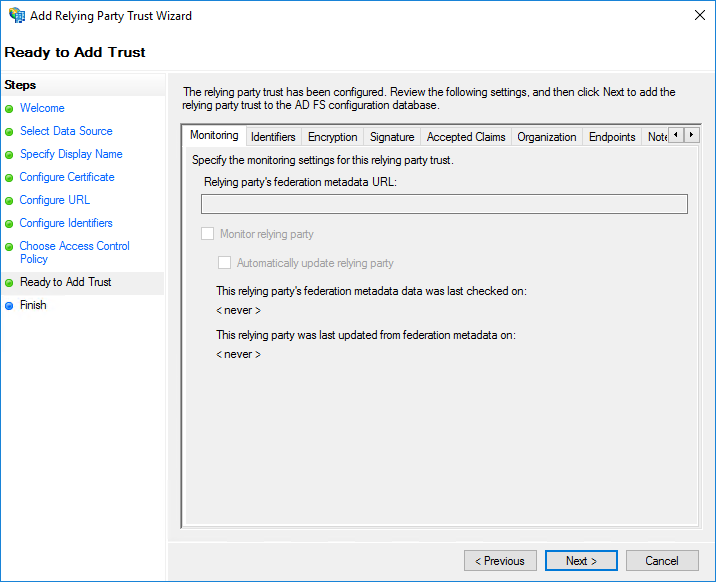
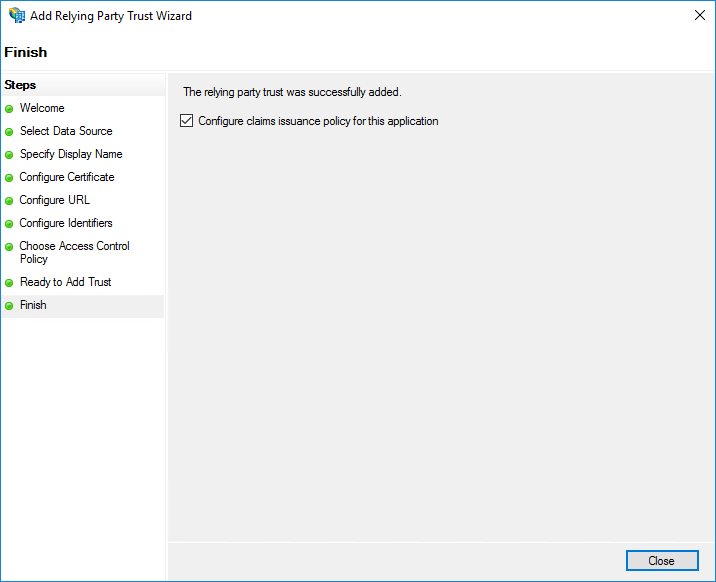
On the Finish page, select Configure claims issuance policy for this application. Click Close.
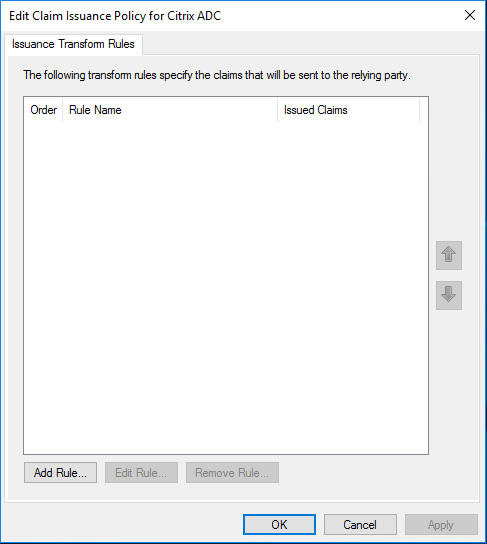
On the Issuance Transform Rules page, click Add Rule.
Click Next
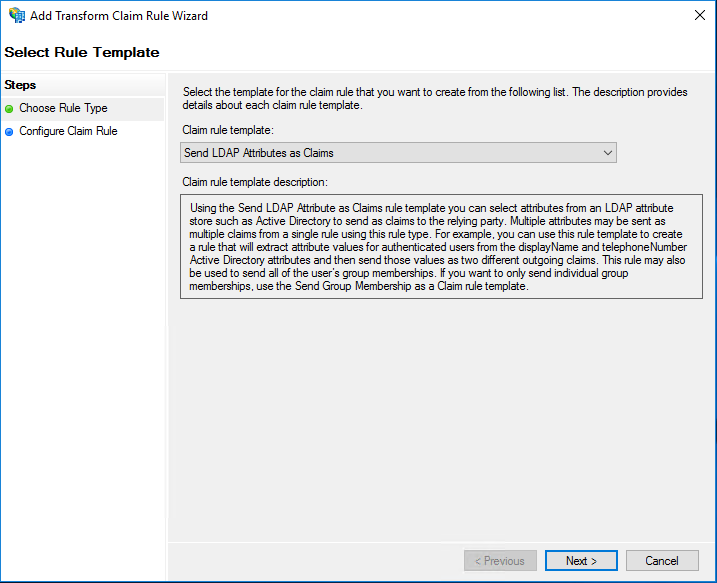
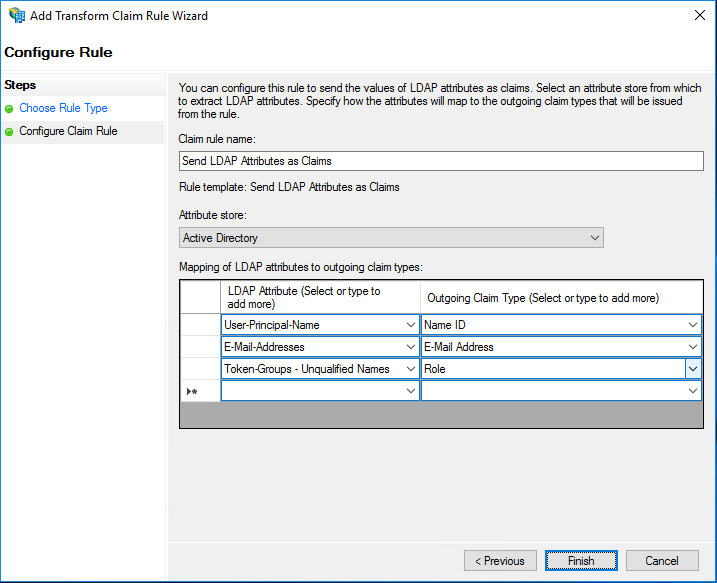
Enter a descriptive name in the Claim rule name field. Under Attribute store, select Active Directory. Then select the following: LDAP Attributes and Outgoing Claim Types.
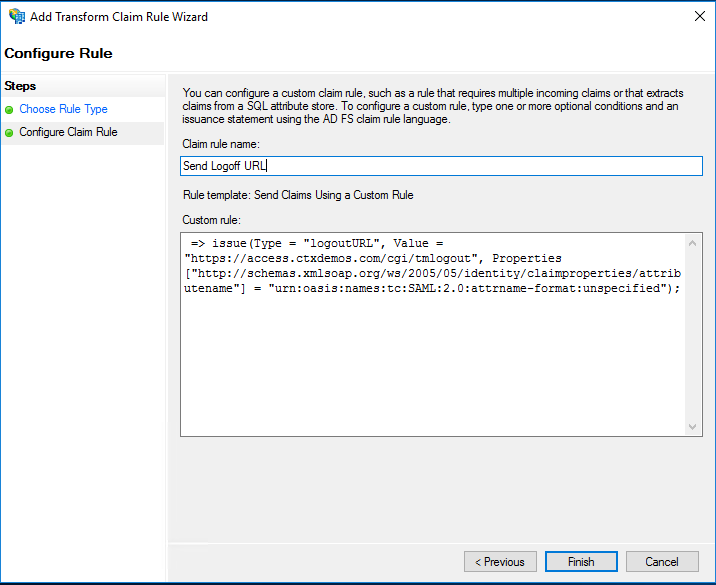
Create a new rule and use Send Claims Using a Custom Rule as a Claim rule template. Enter a descriptive name for the Claim rule name and enter the following string for Custom rule:
=> issue(Type = "logoutURL", Value = "https://access.ctxdemos.com/cgi/tmlogout", Properties["http://schemas.xmlsoap.org/ws/2005/05/identity/claimproperties/attributename"] = "urn:oasis:names:tc:SAML:2.0:attrname-format:unspecified");
When the Claim Issuance Policies are created, click Ok.
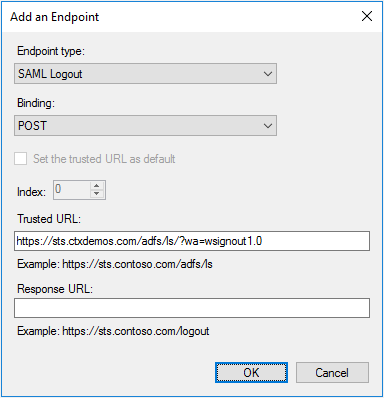
Right-click Relying Party Trust > NetScaler ADC, and select Properties. Select Endpoints and add an endpoint by clicking Add SAML for Logout. From the Endpoint type list, select SAML Logout. For Binding, select POST, and for Trusted URL, enter https://sts.ctxdemos.com/adfs/ls/?wa=wsignout1.0. This will act as a logout URL when logging out of NetScaler ADC. Click OK.
Right-click Relying Party Trust > NetScaler ADC, and select Properties. Select Encryption and add a public SSL certificate that is installed on NetScaler Gateway. This certificate will be used to decrypt an incoming SML Request from NetScaler ADC. Repeat the same on the Signature tab. This certificate will be used to check the signature of an incoming SAML Request. Click OK.
Enable IdP initiated sign-on page
You can enable the AD FS IdP-initiated sign-on page. You will be using the IdP-initiated sign-on to present a custom error page to unregistered MFA users. To enable, run the following command:
Set-AdfsProperties -EnableIdPInitiatedSignonPage $true
Test AD FS farm
Open a web browser and navigate to:
- https://sts.ctxdemos.com/FederationMetadata/2007-06/FederationMetadata.xml
- https://sts.ctxdemos.com/adfs/fs/federationserverservice.asmx
- https://sts.ctxdemos.com/adfs/ls/idpinitatedsignon.aspx
NetScaler ADC and NetScaler Gateway
Configure NetScaler Gateway
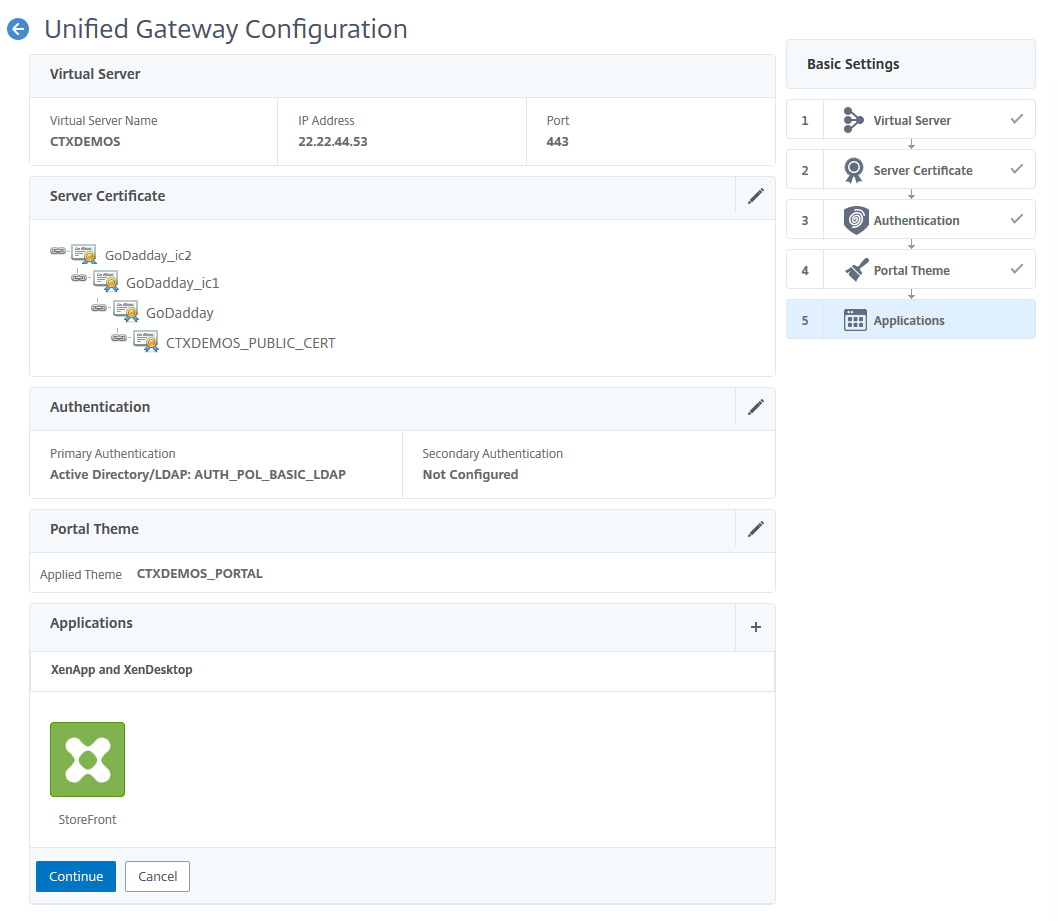
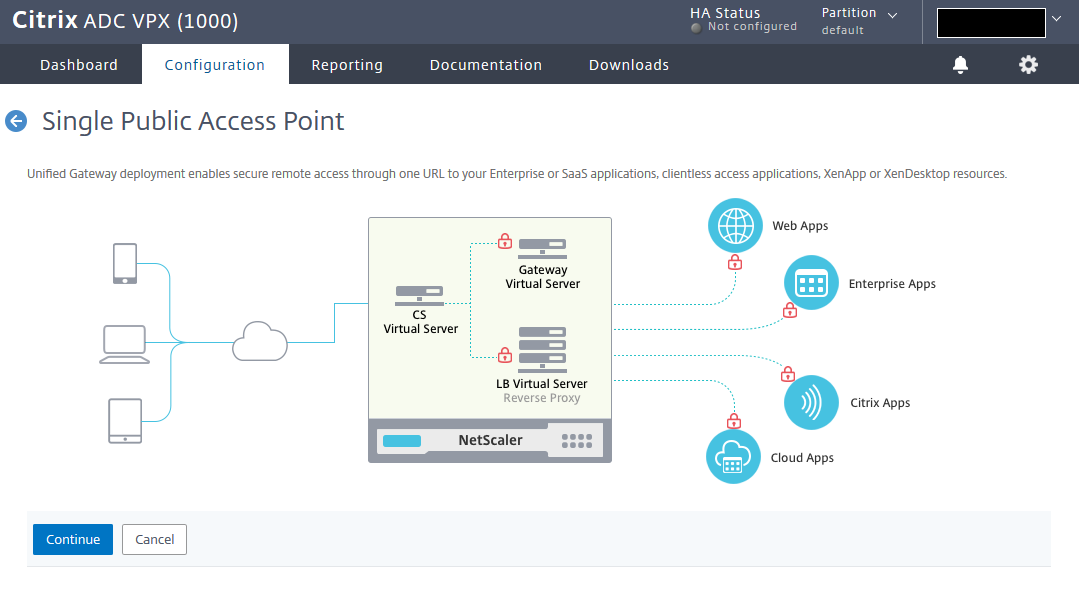
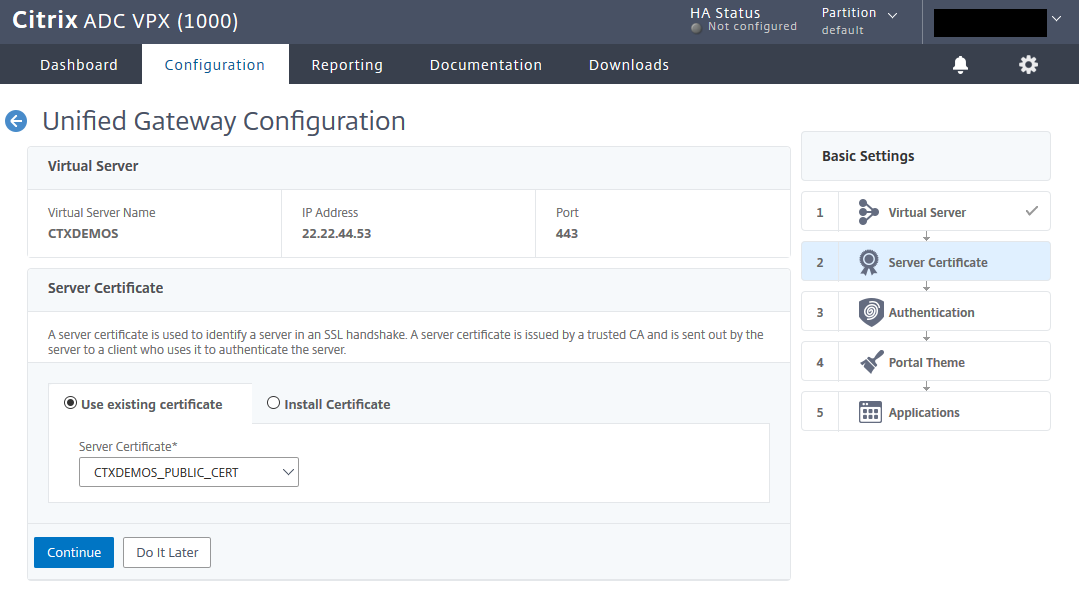
You can configure NetScaler Gateway through the wizard. Log on to NetScaler ADC Management GUI, navigate to Unified Gateway, and click Create New Gateway. Then click Continue.
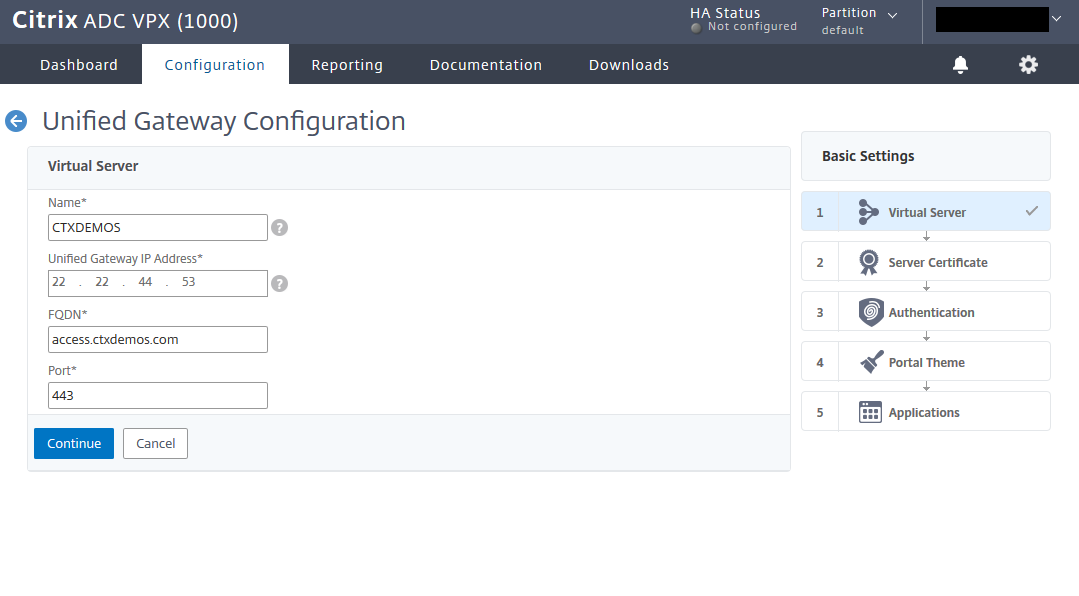
Enter the name, IP, and FQDN for Unified Gateway and click Continue.
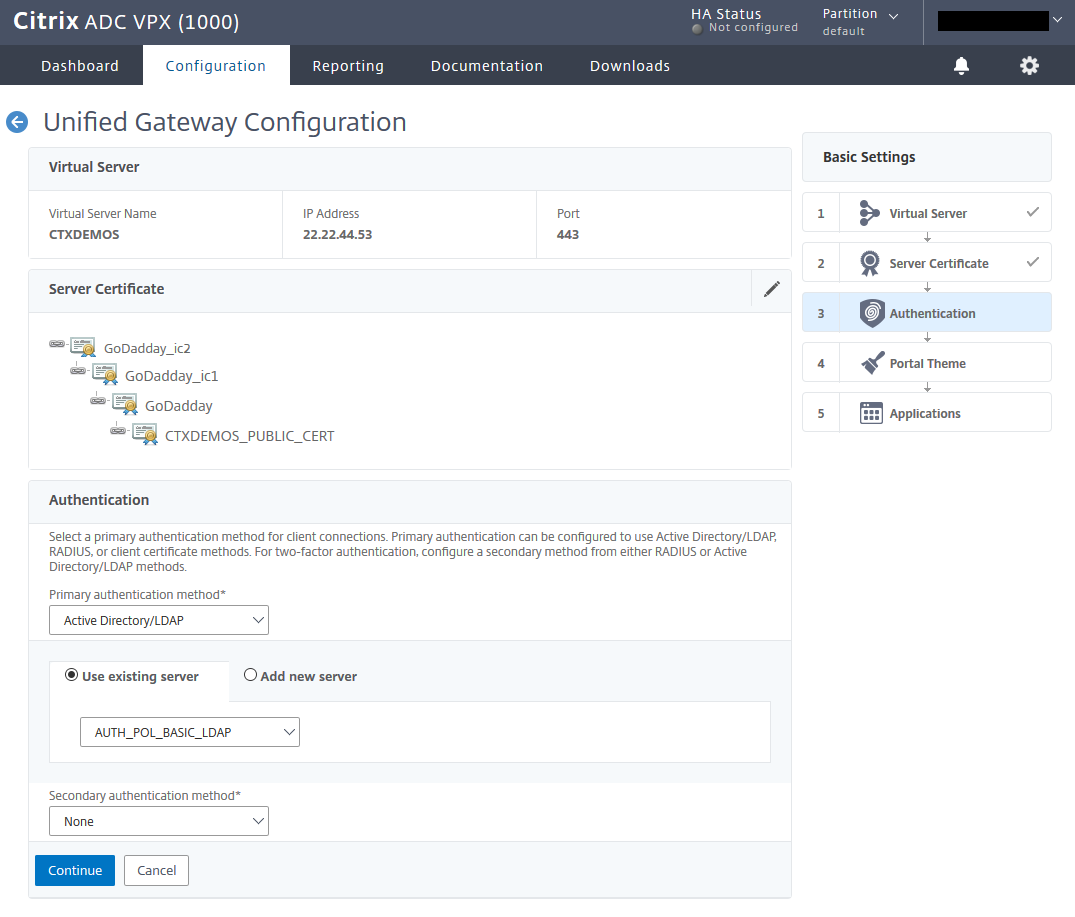
Select the public SSL certificate and click Continue
Create a basic LDAP policy and bind it to Unified Gateway. Click Continue.
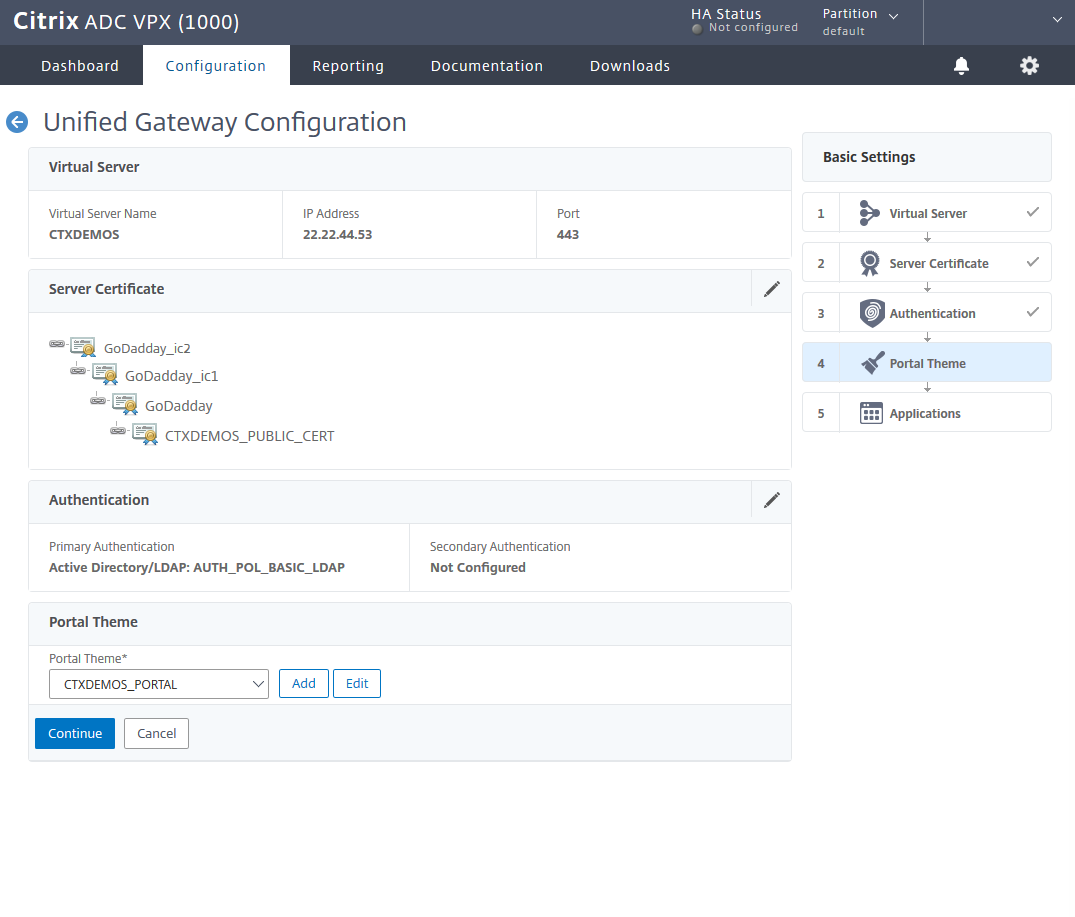
Create a portal theme based on RfWebUI and bind it to Unified Gateway. Click Continue.
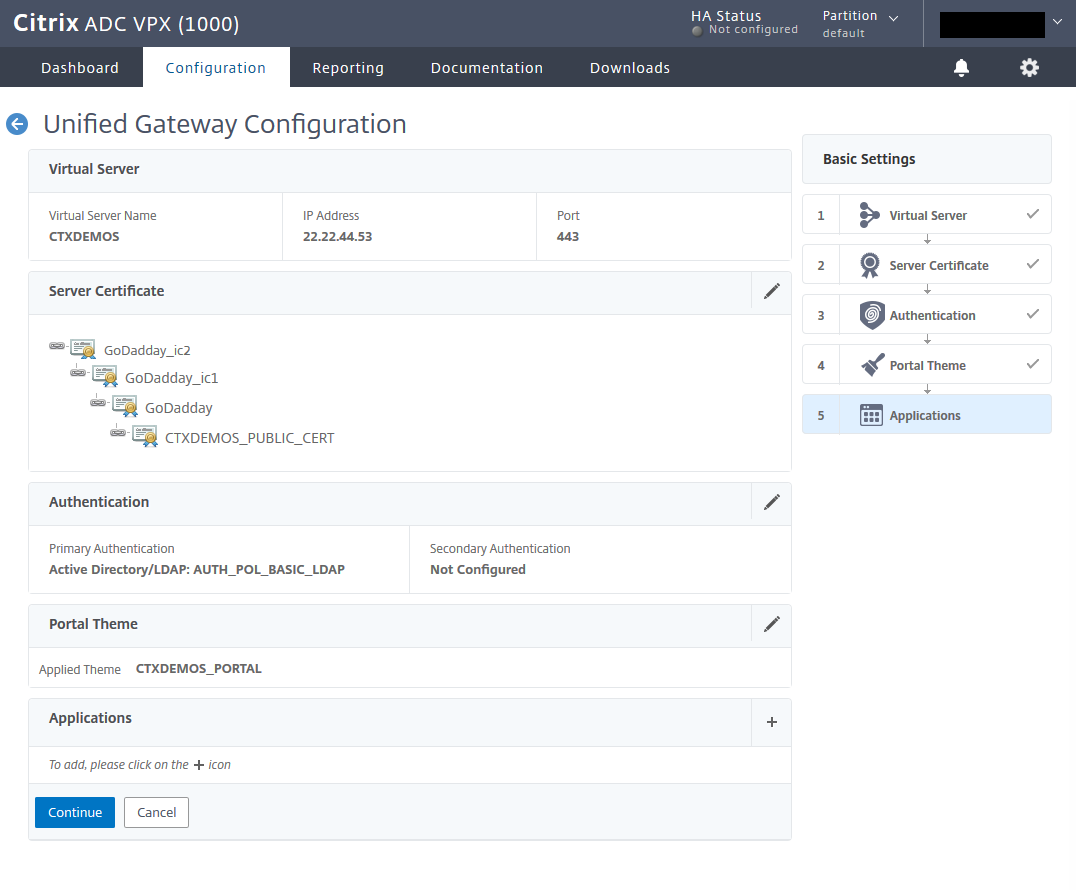
Select the plus sign (+) in front of the applications to integrate NetScaler Gateway with StoreFront.
Integrate Citrix StoreFront into NetScaler Gateway
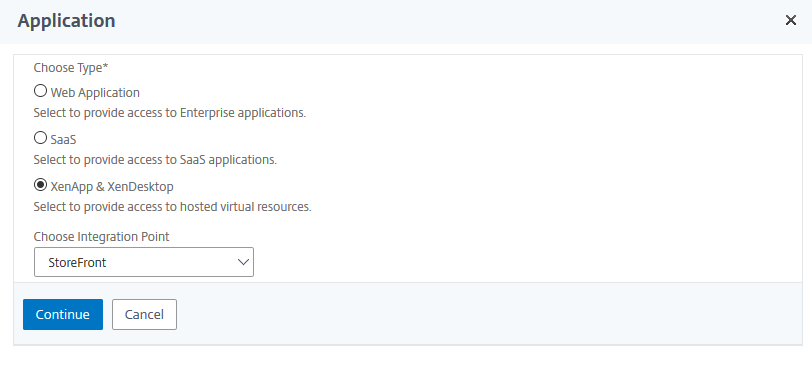
On the Application page, select XenApp & XenDesktop, and from the Choose Integration Point list, select StoreFront. Click Continue.
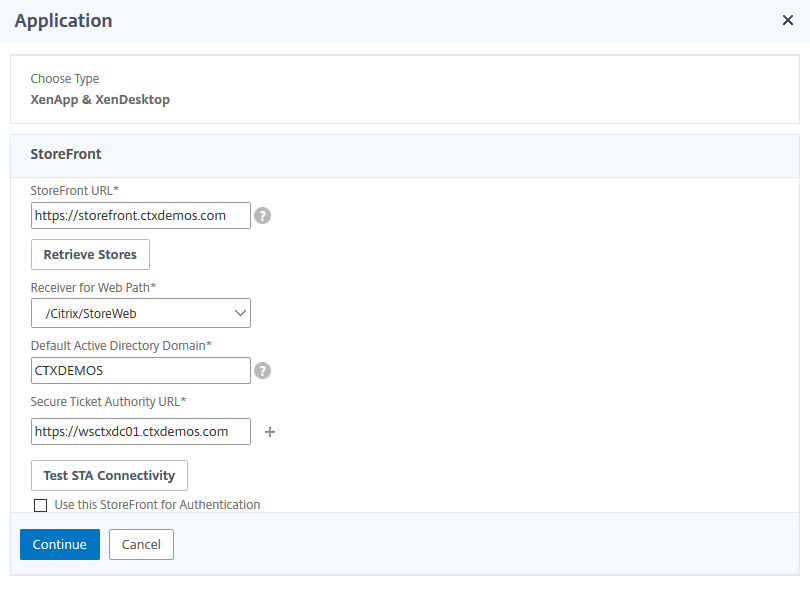
Enter a StoreFront URL and click Retrieve Stores. Then enter the Default Active Directory Domain and Secure Ticket Authority URL settings. Click Test STA Connectivity and then click Continue.
 Click Done and then click Continue.